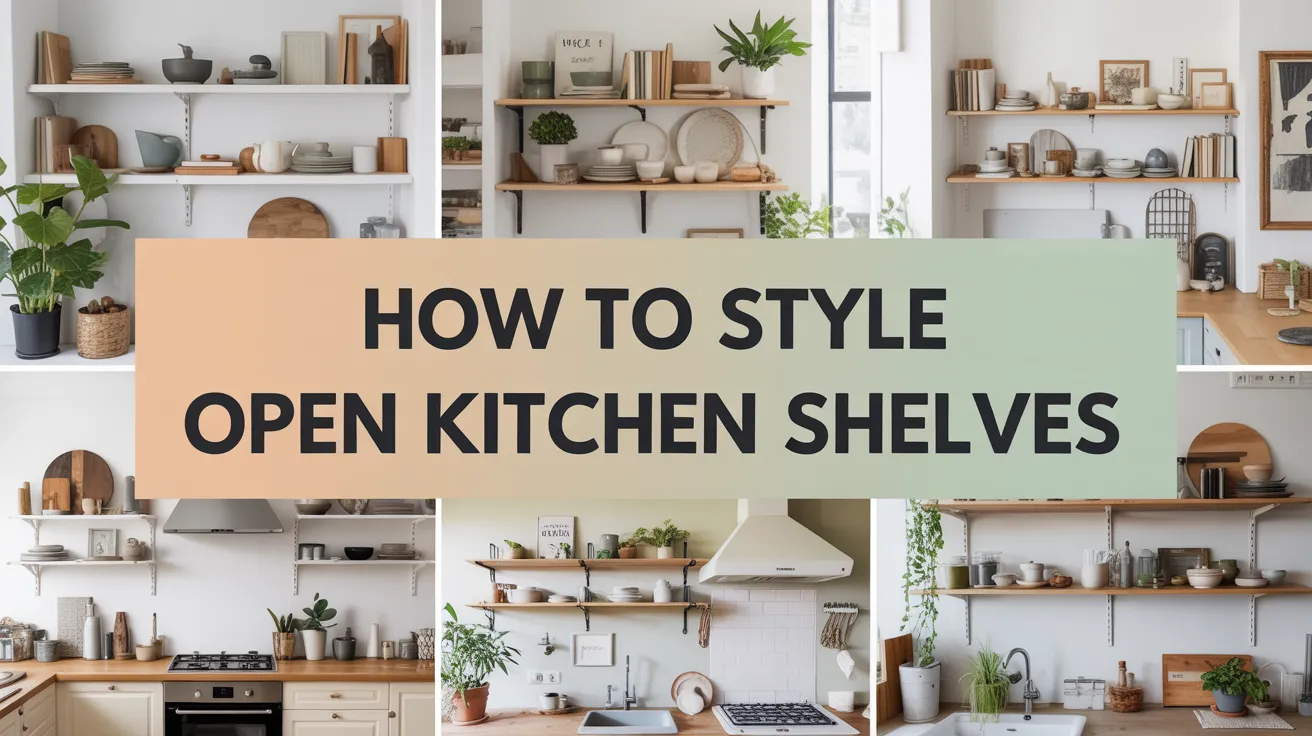
How to Style Open Kitchen Shelves Like a Designer

Have you ever scrolled through Pinterest, seen those perfectly styled open kitchen shelves, and thought, “How on earth do they do that?” You’re not alone. Those airy, beautiful displays look so effortless, but when you try it yourself, your kitchen suddenly looks less like a magazine spread and more like a cluttered antique shop.
I’ve been there. My first attempt at open shelving involved stacking everything I owned onto them, resulting in a chaotic mess that gave me anxiety every time I walked into the room.
But here’s the secret: styling open kitchen shelves is a skill, not a magical talent. It’s an art form you can learn. After much trial, error, and a whole lot of rearranging, I finally cracked the code. Now, my shelves are my favorite part of the kitchen. I want to share everything I’ve learned so you can skip the stressful phase and jump right to having gorgeous, functional shelves you’ll love to show off.
This guide will walk you through, step by step, how to style open kitchen shelves like a designer. We’ll cover everything from decluttering and choosing a color palette to the nitty gritty of arranging your items for that perfect balance of form and function. Get ready to transform your kitchen!

The Foundation: Prepping Your Shelves for Success
Before you even think about placing a single item, you need to set the stage. A great display starts with a clean slate and a clear vision. Rushing this step is like trying to build a house on a shaky foundation it’s just not going to work.
Start with a Ruthless Declutter
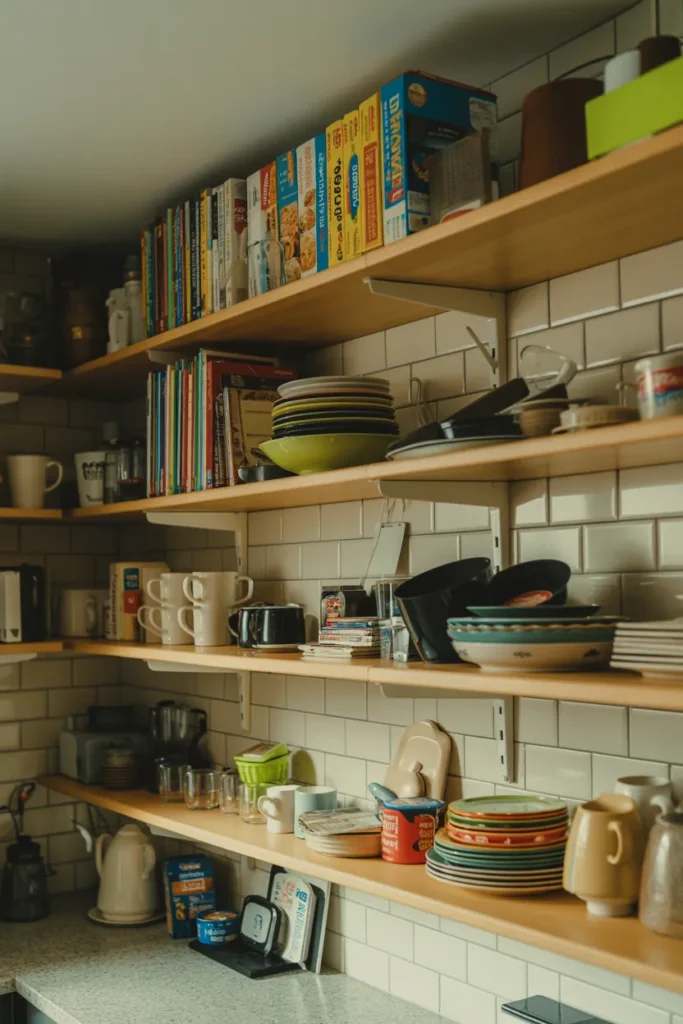
This is the most crucial step, so be honest with yourself. Open shelving forces you to curate your collection. Not everything you own deserves a spot in the limelight. Your mismatched promotional mugs from a decade ago? It’s time for them to go. That chipped bowl you feel guilty throwing away? Let it go.
Your goal is to keep only what is beautiful, useful, or both. Lay everything you plan to display out on your counter or dining table. This helps you see what you’re working with. Create three piles: “Keep on Shelves,” “Store Elsewhere,” and “Donate/Toss.” Only the absolute best of the best should make it into the “Keep on Shelves” pile.
Choose a Cohesive Color Palette
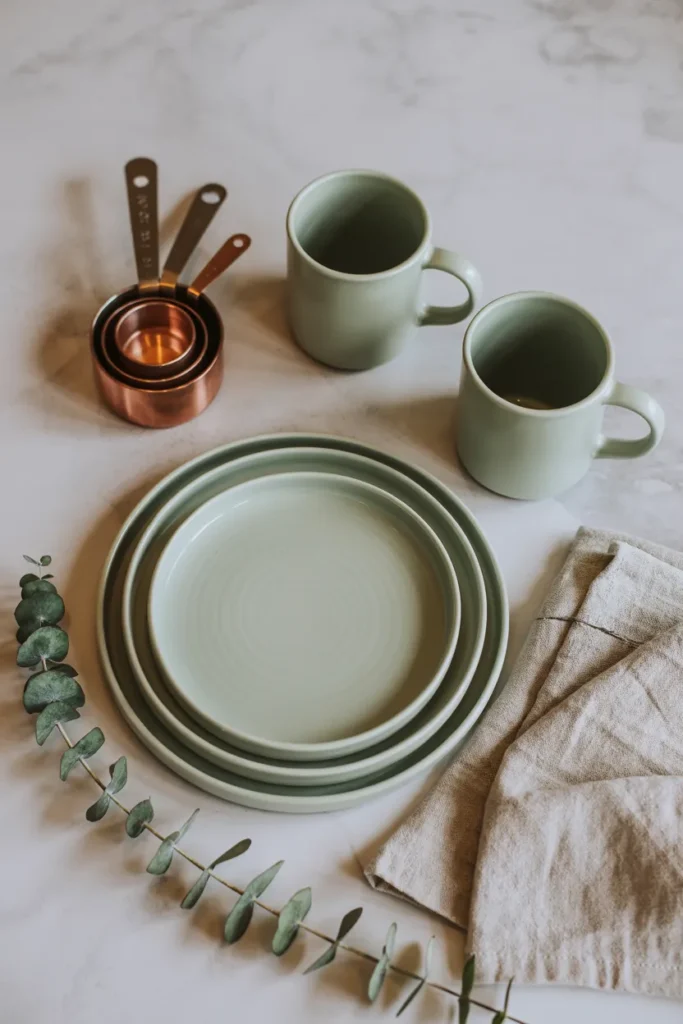
Now, look at your “keep” pile. Do you see a color story emerging? A cohesive color palette is the secret weapon for making your shelves look intentional and professionally styled. This doesn’t mean everything has to be the same color. It means choosing a limited palette of 2-4 colors that work well together and complement your kitchen’s overall design.
- Neutrals are your best friend: White, cream, beige, grey, and black are fantastic base colors. They create a clean, calm backdrop that lets other items shine. White dishes are a classic choice for a reason they go with everything!
- Pick one or two accent colors: This is where you can inject personality. Maybe it’s a pop of cobalt blue, a warm terracotta, or a soft sage green. These accent colors can appear in your mugs, a vase, or even the spine of a cookbook.
- Consider your materials: Wood, metallics (like brass or copper), and glass are also part of your palette. The warmth of a wooden cutting board or the gleam of a copper pot can add texture and interest.
The key is repetition. Sprinkling your chosen colors and materials across the shelves will create a sense of rhythm and unity.

The Art of Arrangement: Composition and Balance
Okay, your shelves are clean and you have your curated items ready. Now for the fun part: arranging everything. This is where you get to play with shapes, heights, and textures to create visual interest. The goal is to make the eye dance across the shelves, not get stuck in one cluttered spot.
The Rules of Stacking and Grouping
Avoid lining everything up like soldiers in a row. Instead, think in terms of vignettes, which are small, curated groups of objects.
- Work in Triangles: A classic design trick is to arrange items in a triangle. This means placing three objects together with varying heights—a tall vase, a medium-sized canister, and a small bowl, for example. This creates a visually pleasing shape and guides the eye.
- The Power of Threes (or Fives): Grouping items in odd numbers (1, 3, 5) is almost always more appealing than grouping in even numbers. A single beautiful pitcher can be a statement piece on its own. A group of three small spice jars looks better than two or four.
- Vary Heights and Shapes: This is critical for avoiding a flat, boring display.
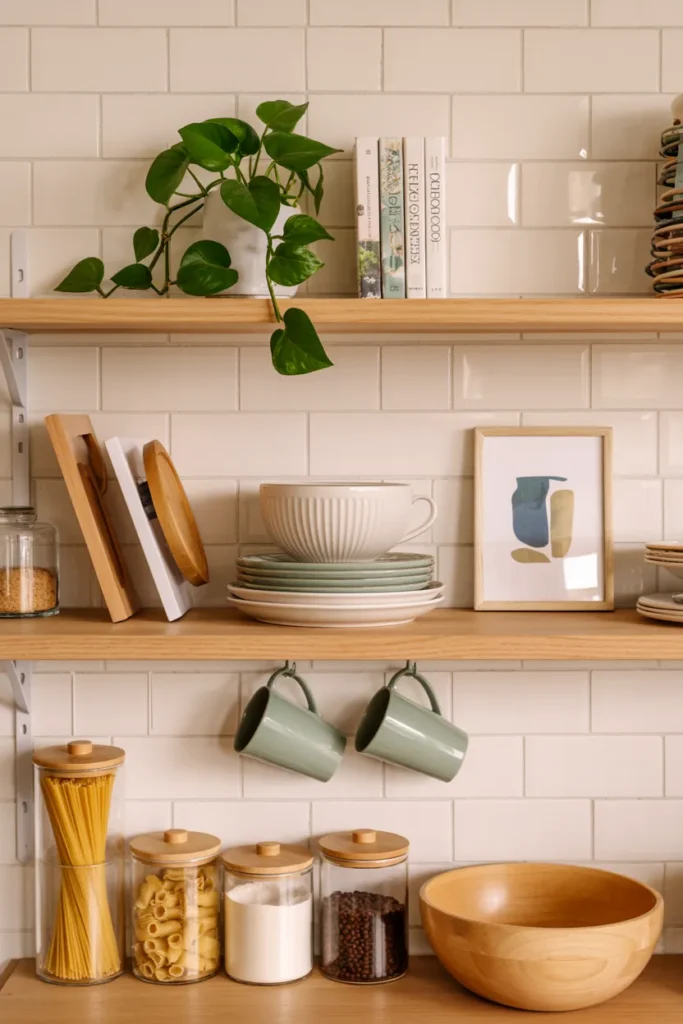
- Stack It: Stack bowls on top of plates. Place a small plant on a stack of two cookbooks. Stacking adds vertical dimension instantly.
- Lean It: Lean a small piece of art or a beautiful cutting board against the back of the shelf. This adds depth and breaks up the monotony of upright items.
- Mix Shapes: Combine round plates with rectangular cutting boards. Place an organic, free-form vase next to a structured stack of books. The contrast is what makes it interesting.
Achieving Balance: Visual Weight and Negative Space
Learning how to style open kitchen shelves like a designer is all about balance. This doesn’t mean making both sides perfectly symmetrical. It means distributing the visual weight so that one side doesn’t feel heavier or more cluttered than the other.
- Zig-Zag Placement: Imagine a zig-zag line running down your shelves. Place your “heavier” or more prominent items along this line. For example, if you have a large stack of white plates on the top left shelf, place your next large item (like a wooden bowl) on the middle right shelf, and a dark-colored pitcher on the bottom left. This forces the eye to move around and creates a dynamic balance.
- Embrace Negative Space: This is the secret ingredient most people miss. Negative space, or empty space, is just as important as the objects themselves. It gives your items room to breathe and prevents the display from looking cluttered. Don’t feel the need to fill every single inch of your open kitchen shelves. Leaving some space empty is a sign of confidence and sophistication. IMO, this is the hardest part to master, but it makes the biggest difference!
Layering in Personality: The Finishing Touches
Your shelves are arranged, balanced, and looking good. Now it’s time to add the layers that make them uniquely yours. This is how you elevate your display from simply “organized” to “stylishly curated.”
Incorporate Natural and Textural Elements
Your kitchen items are likely hard surfaces ceramic, glass, wood. To soften the look and add warmth, you need to introduce different textures and natural elements.
- Bring in the Green: A small plant or a vase of fresh-cut stems is a game-changer. Plants add life, color, and an organic shape that contrasts beautifully with kitchenware. Pothos, snake plants, or even a simple jar of herbs are great low-maintenance options.
- Woven Textures: A small woven basket can hold dish towels or fruit. It adds a lovely, rustic texture.
- Linen and Fabric: A neatly folded linen tea towel can add a soft touch and a pop of your accent color.
Add Art and Personal Objects
Who says art is only for the living room? Open kitchen shelves are the perfect place for a small framed print, a postcard from a favorite trip, or a quirky ceramic object you love. These items tell a story and infuse your personality into the space.
Just remember the rule of curation. Choose one or two special pieces per shelf section at most. A small, framed abstract painting leaning against the wall or a single, beautiful candle can be all you need. This is what truly makes your shelves feel personal and not like a generic store display.
Don’t Forget Functionality
At the end of the day, this is a kitchen. Your shelves need to work for you. Don’t hide the items you use every day in a hard to reach cabinet just for the sake of aesthetics.
- Keep Everyday Items Accessible: Place your daily use plates, bowls, and glasses on the lowest, easiest-to-reach shelf. This makes grabbing them for meals simple and practical.
- Use Pretty Storage: Decant things like flour, sugar, coffee, and pasta into beautiful glass or ceramic canisters. This keeps them handy, fresh, and visually appealing. No more ugly packaging! FYI, this also helps you see when you’re running low on something.
- Group by Use: Consider placing all your coffee-making supplies together—mugs, a canister of coffee beans, and your sugar bowl. This creates a functional “coffee station” on your shelf.

Putting It All Together: A Step-by-Step Styling Session
Feeling overwhelmed? Don’t be. Let’s walk through a quick styling session together.
- Clear and Clean: Empty your shelves completely. Give them a good wipe down. This is your fresh start.
- Place Your Anchors: Start with your largest items your stacks of plates, a large bowl, or a big pitcher. Place these first, using the zig zag method to distribute their visual weight. These are the “bones” of your display.
- Add Medium-Sized Functional Items: Next, add your everyday glasses, smaller bowls, and canisters. Stack them, group them, and place them near your anchor items. This is a good time to start thinking about creating those triangular vignettes.
- Layer in Height and Texture: Now, bring in the tall and lean items. Lean a cutting board against the back. Add a tall vase or bottle of olive oil. Stack some cookbooks to create a pedestal for a smaller item.
- Sprinkle in the Personality: This is the final flourish. Add your plant, your piece of art, a favorite candle, or a small, sculptural object. Place these in the gaps, completing your vignettes.
- Step Back and Edit: Take a step back. How does it look? Does one area feel too crowded? Is there a spot that looks too empty? Don’t be afraid to tweak, rearrange, and move things around. Sometimes the best arrangements happen after a little experimentation. Remove one item from each shelf you’ll be surprised how this can improve the overall look.
Conclusion: Your Shelves, Your Story
Styling your open kitchen shelves doesn’t have to be an intimidating task. By starting with a clean slate, choosing a cohesive palette, and focusing on balance and layering, you can create a display that is both beautiful and deeply personal.
Remember the key takeaways: curate ruthlessly, group in odd numbers, vary heights, and embrace negative space.
The most important rule? Have fun with it! Your kitchen should be a reflection of you, your life, and your taste. These shelves are a canvas for you to tell your story.
So pour a glass of wine, put on some music, and enjoy the process of turning that cluttered space into a stunning focal point in your home.
Now go on, give it a try. I promise you’ve got this. And when you’re done, stand back and admire your work you’ve just learned how to style open kitchen shelves like a pro.
