How to Create a DIY Bedroom Accent Wall Step by Step

Ever scroll through Pinterest and see those stunning bedrooms with a single, bold wall and think, “I wish I could do that”? That feeling of wanting to transform your space but feeling a little intimidated is exactly where I was a few years ago. I stared at my boring beige bedroom walls for months, convinced that creating a beautiful accent wall was too complicated, too expensive, or just plain out of my league.
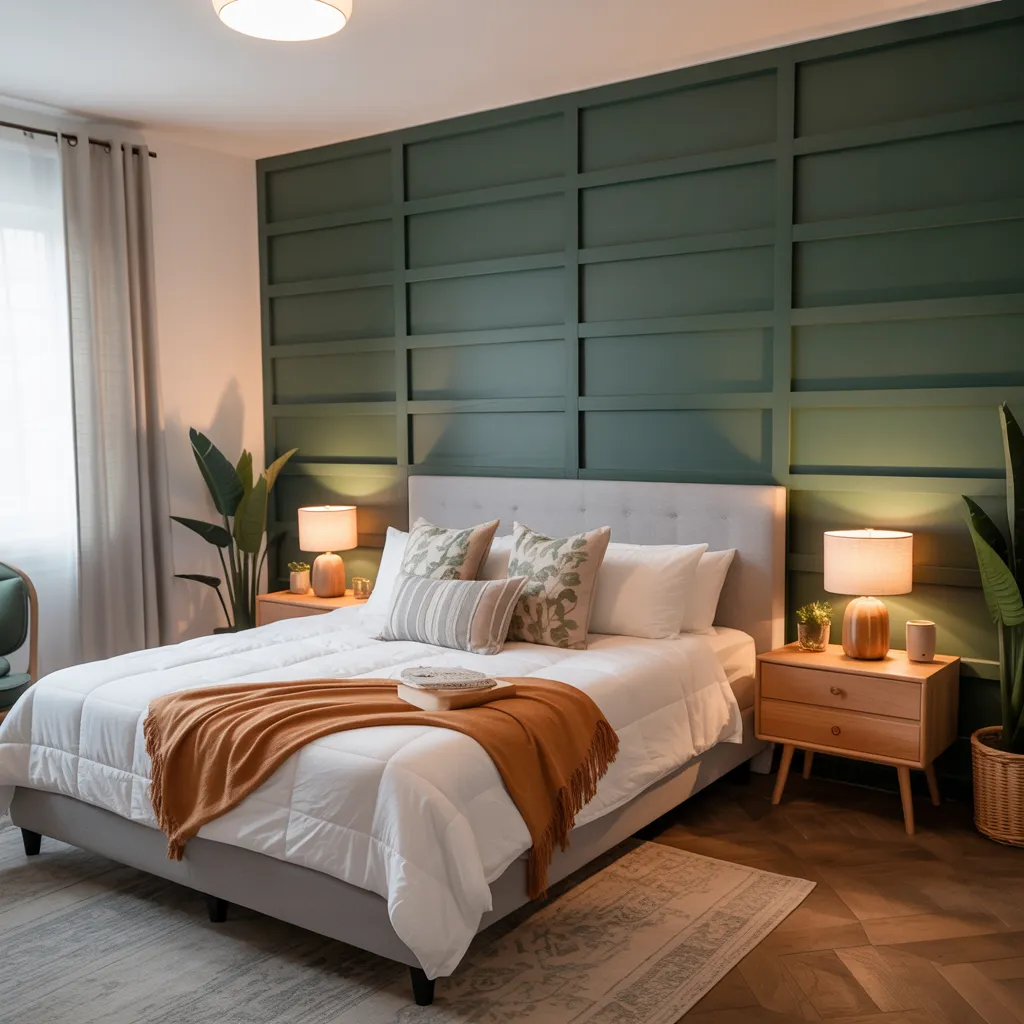
Let me tell you, I was wrong. My first attempt at a DIY bedroom accent wall was a simple board and batten design, and it completely changed the feel of my room. It went from “just a place to sleep” to a cozy, stylish sanctuary. Now, I’m obsessed! I’m here to walk you through exactly how to create a DIY bedroom accent wall step by step, so you can skip the doubt and get right to the fun part.
We’re going to cover everything from picking the right wall to the final finishing touches. Think of this as a conversation between two friends about to tackle a super rewarding weekend project. Ready? Let’s get our hands dirty.
Planning Your Perfect Accent Wall
Before you even think about picking up a paintbrush or a power tool, a little planning goes a long way. This is the fun part where you get to dream and decide on the vibe you want for your space. Getting this right sets you up for a smooth and successful project.
Choosing the Right Wall
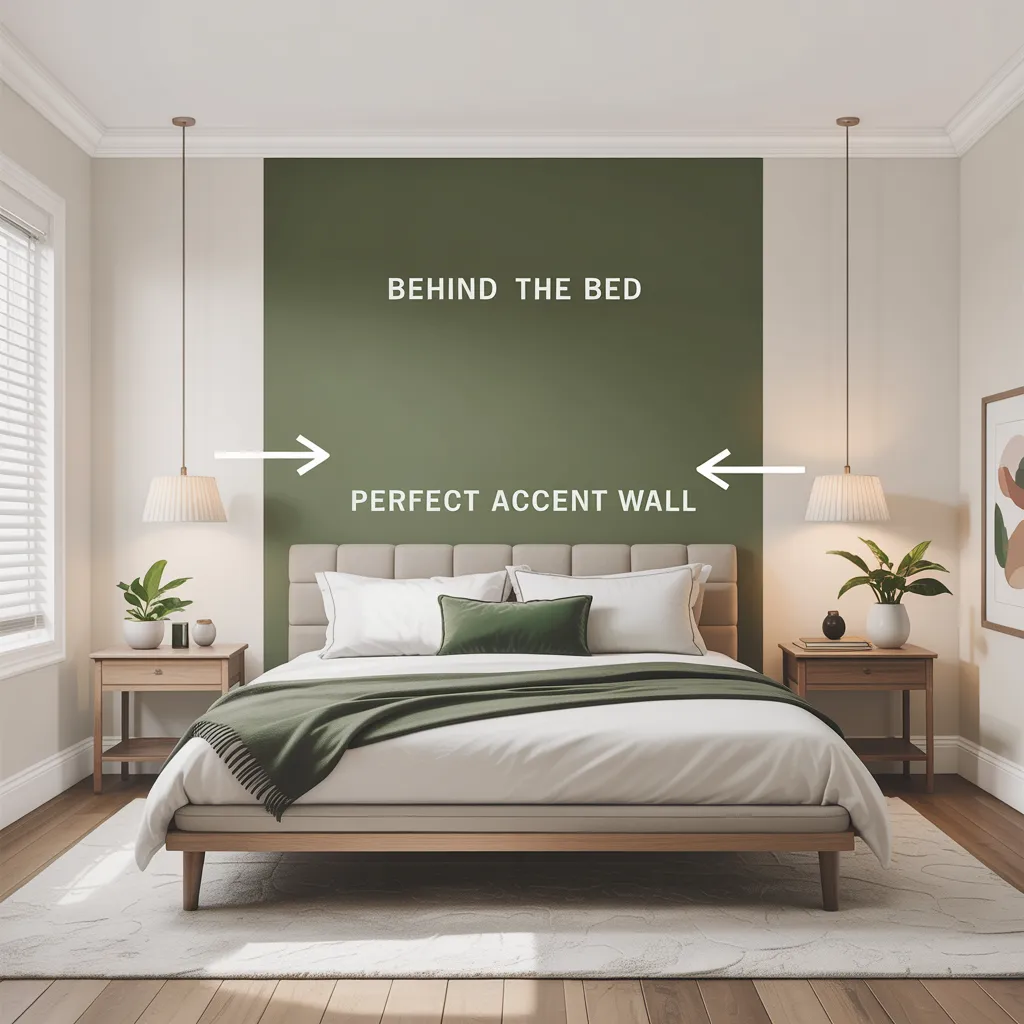
First things first: which wall gets to be the star of the show? Typically, the best wall for an accent is the one your eyes are naturally drawn to when you enter the room. In a bedroom, this is almost always the wall behind your bed. It creates a natural focal point and anchors the entire room’s design.
Consider these points when making your choice:
- Natural Focal Point: The wall behind the headboard is the classic choice for a reason. It frames the most important piece of furniture in the room.
- No Distractions: Try to pick a solid wall without too many windows or doors. While you can work around them, a solid wall provides a cleaner canvas and has a greater impact.
- Room Layout: Think about how you move through the space. You want the accent wall to enhance the room’s flow, not compete with it.
Don’t overthink it too much. Go with your gut instinct. Which wall feels like it’s just begging for a little extra love? That’s probably your winner.
Deciding on the Style
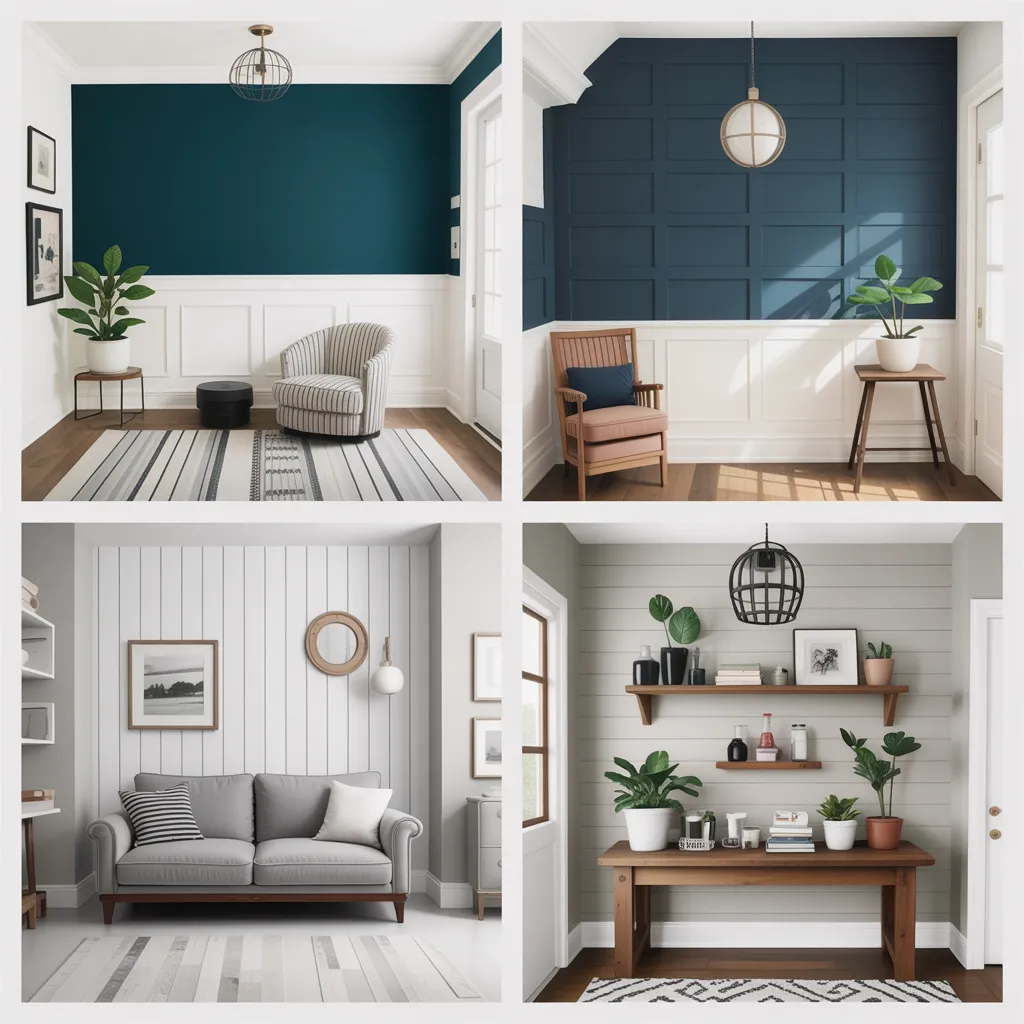
Now for the really exciting part: what kind of accent wall will you create? The possibilities are endless, ranging from simple and subtle to bold and dramatic. Your choice will define the mood of your bedroom.
Here are a few popular DIY-friendly ideas to get your creative juices flowing:
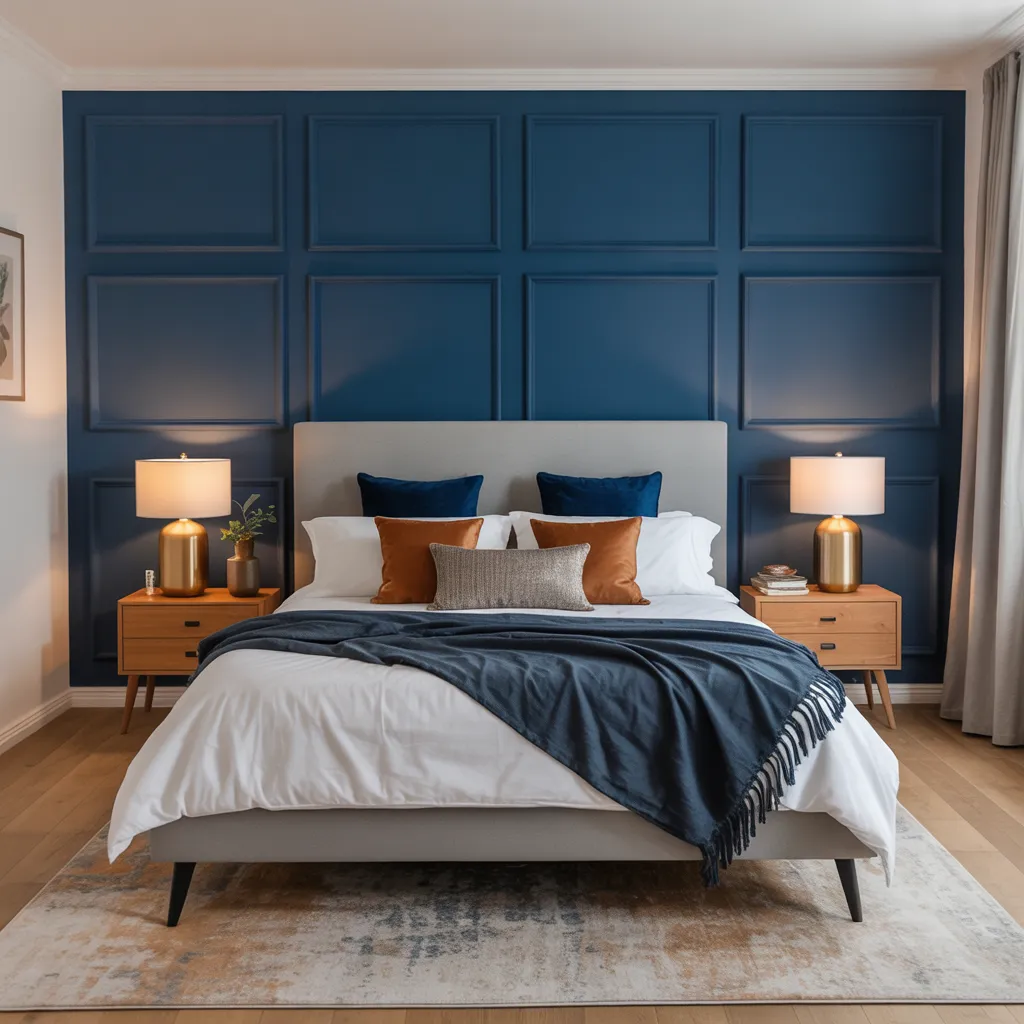
- A Bold Pop of Paint: This is the easiest and most budget-friendly option. A deep jewel tone, a moody dark shade, or a bright, energizing color can make a massive impact with minimal effort.
- Geometric Patterns: Think painted arches, color blocking, or intricate patterns made with painter’s tape. These designs add a modern, artistic flair.
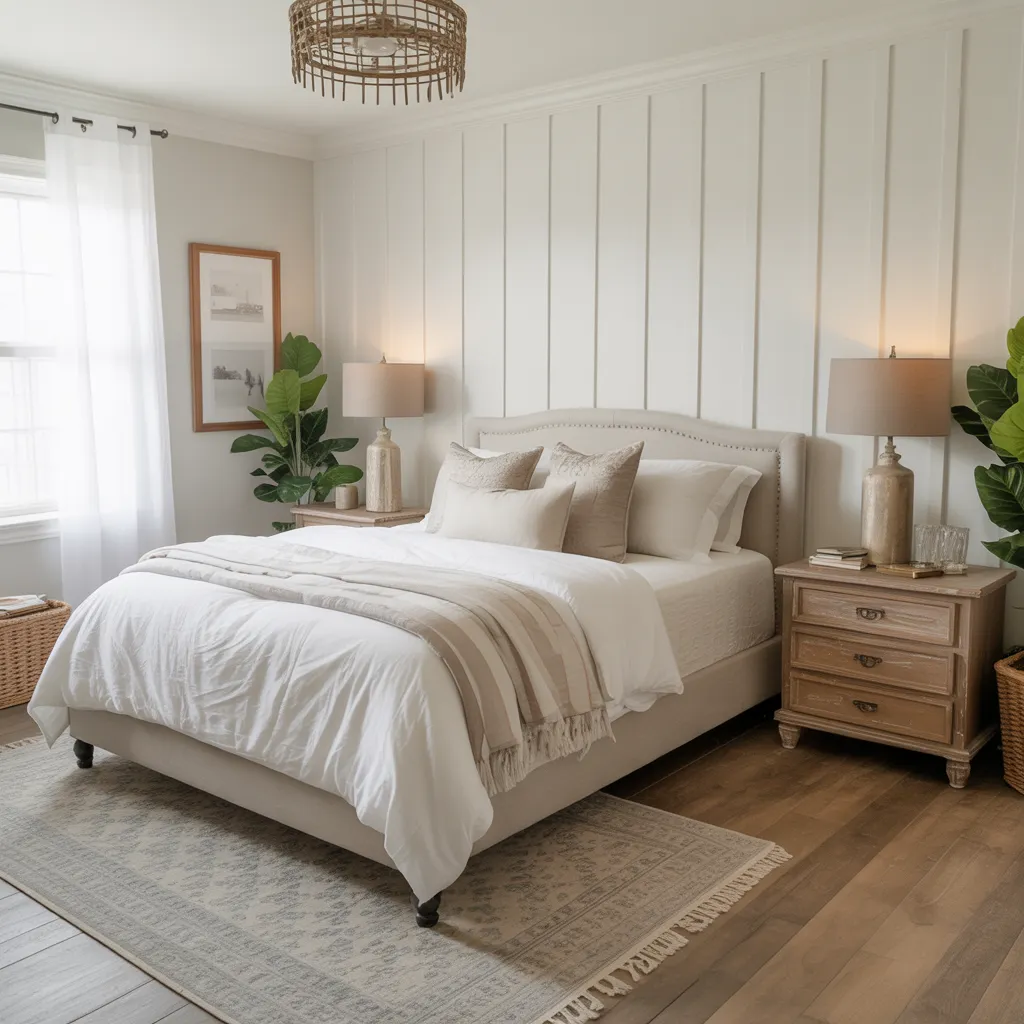
- Board and Batten: A timeless classic! This style involves adding wood trim to the wall in a grid or vertical pattern. It adds texture and architectural interest for a sophisticated, high-end look.
- Shiplap or Wood Paneling: Perfect for a rustic, farmhouse, or coastal vibe. You can install the planks horizontally for a traditional look or vertically for a more modern feel.
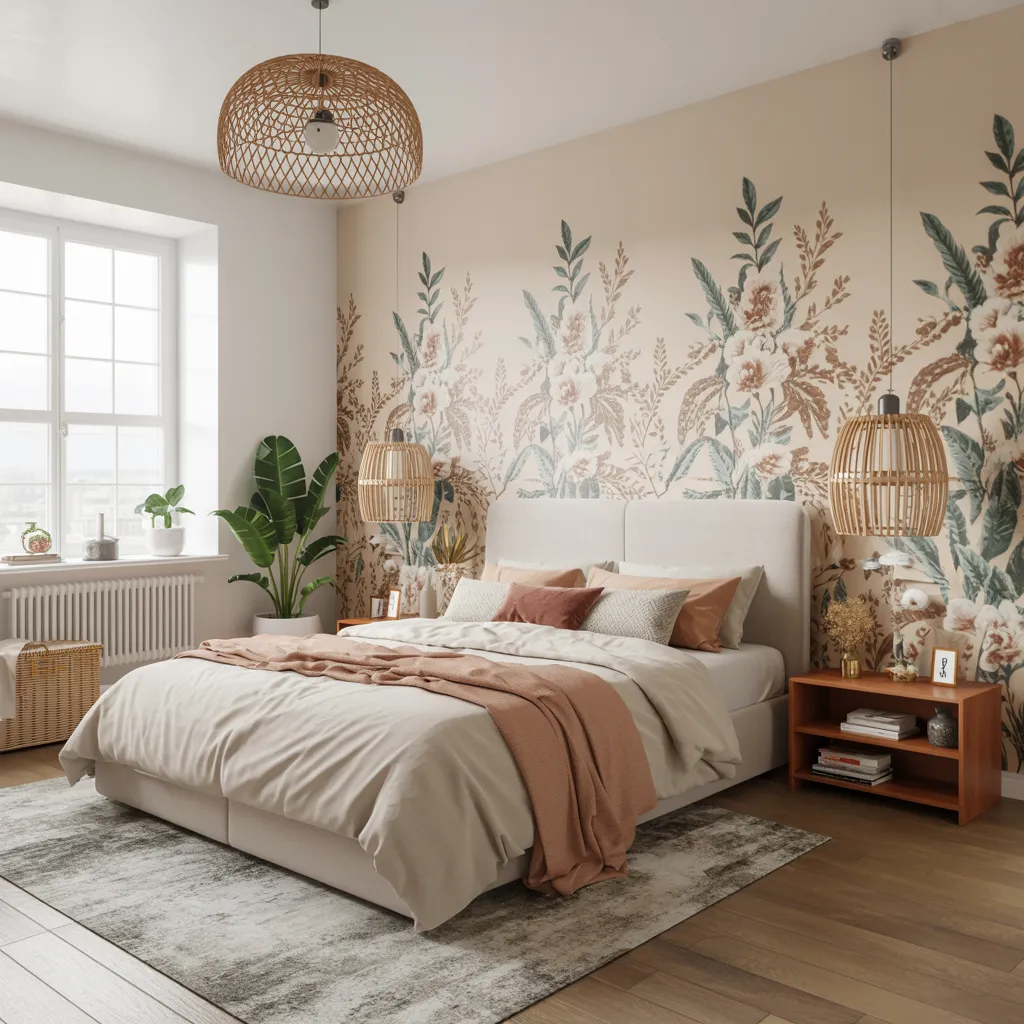
- Peel-and-Stick Wallpaper: Not your grandma’s wallpaper! Modern peel-and-stick options are stylish, easy to install, and removable, making them perfect for renters or anyone who likes to change their mind. IMO, it’s one of the best innovations for DIYers.
Spend some time browsing for inspiration. Save images you love and identify the common themes. Are you drawn to dark and moody or light and airy? Do you prefer clean lines or intricate patterns? This will help you nail down a design that you’ll love for years to come.
Gathering Your Tools and Materials
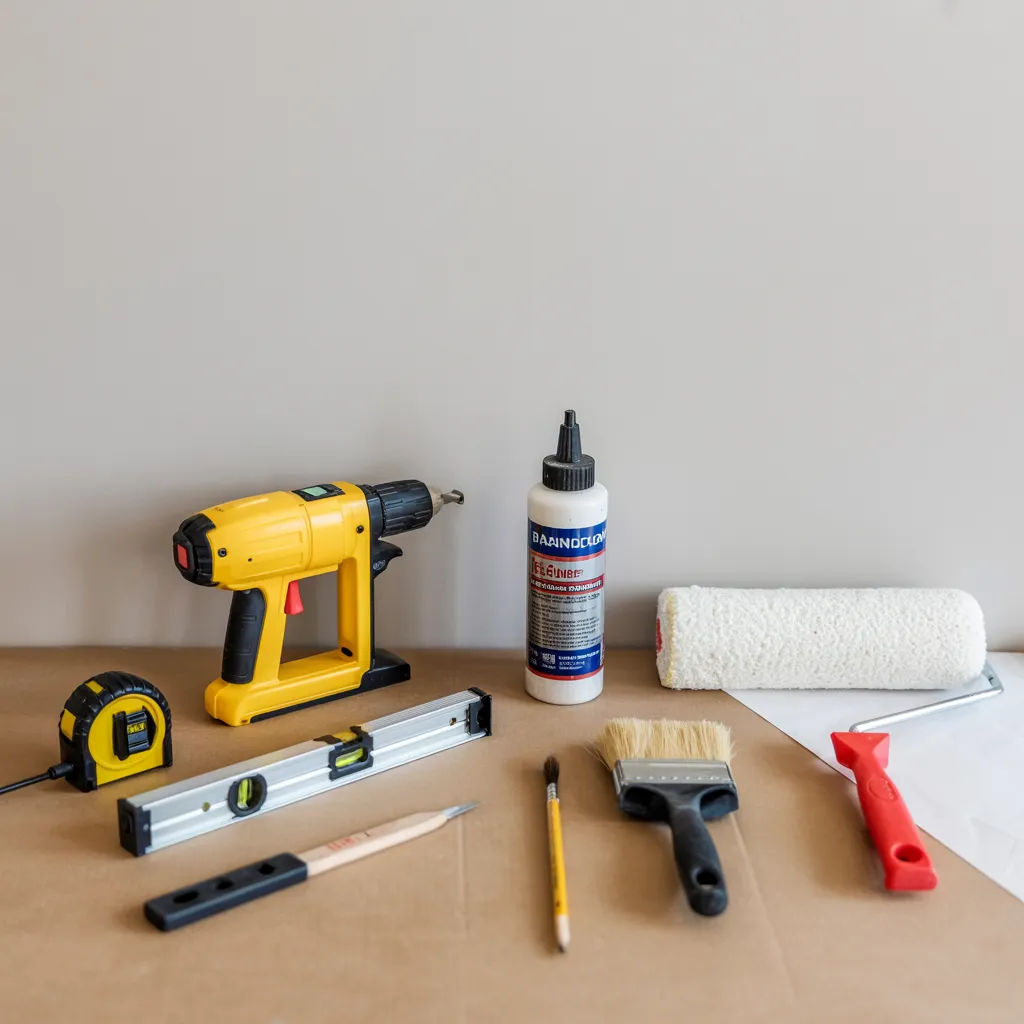
Alright, you’ve picked your wall and your design. Now it’s time to go shopping! Having everything you need on hand before you start is crucial. Nothing kills a project’s momentum like an unexpected trip to the hardware store.
The specific materials will depend on your chosen design, but here’s a general checklist that covers the basics for most accent wall projects.
The Essential Toolkit
This list covers the non-negotiables you’ll likely need, regardless of whether you’re painting or building.
Measuring and Marking:
- Tape Measure: An absolute must-have.
- Level: A 4-foot level is ideal for ensuring your lines and boards are perfectly straight. A smaller torpedo level is also handy.
- Pencil: For marking your measurements.
- Stud Finder: Essential if you’re installing anything heavy like wood boards.
Cutting (for wood-based walls):
- Miter Saw: This is the best tool for getting clean, angled cuts on trim boards. You can often rent one if you don’t own one.
- Jigsaw or Multi-Tool: Useful for cutting around outlets or other obstacles.
Installation:
- Brad Nailer: This will be your best friend for attaching trim. It’s faster and cleaner than a hammer and nails. Again, consider renting one.
- Caulk Gun: For applying adhesive and caulk.
- Hammer and Nail Set (Optional): Good to have as a backup for sinking any proud nail heads.
Materials List by Project Type
Here’s a breakdown of the specific materials you’ll need based on the type of accent wall you decided on.
For a Painted Accent Wall:
- Painter’s tape
- Drop cloths or plastic sheeting
- High-quality interior paint (in your chosen color and finish, usually matte or eggshell for bedrooms)
- Paint primer (especially if you’re going from a dark to a light color or vice-versa)
- Paint roller, tray, and roller covers
- An angled paintbrush for cutting in edges
For a Board and Batten or Shiplap Wall:
- Your chosen wood boards (MDF or primed pine are great for board and batten; shiplap comes in pre-cut planks)
- Liquid Nails or a similar construction adhesive
- Brad nails (usually 1.5″ to 2″ long)
- Wood filler or spackle
- Sandpaper or a sanding block (medium and fine grit)
- Paintable caulk
- Primer and paint
For a Peel-and-Stick Wallpaper Wall:
- The wallpaper itself (always order about 10-15% extra for mistakes and matching patterns)
- A smoother/squeegee tool
- A sharp utility knife or X-Acto knife with extra blades
- A clean cloth and mild cleaning solution
The Step-by-Step Installation Guide
This is where the magic happens! We’re going to break down the process into manageable steps. Remember to take your time, double-check your measurements, and most importantly, have fun with it. Put on some good music or a podcast and enjoy the process of creating something with your own hands.
Step 1: Prep Your Space and Wall
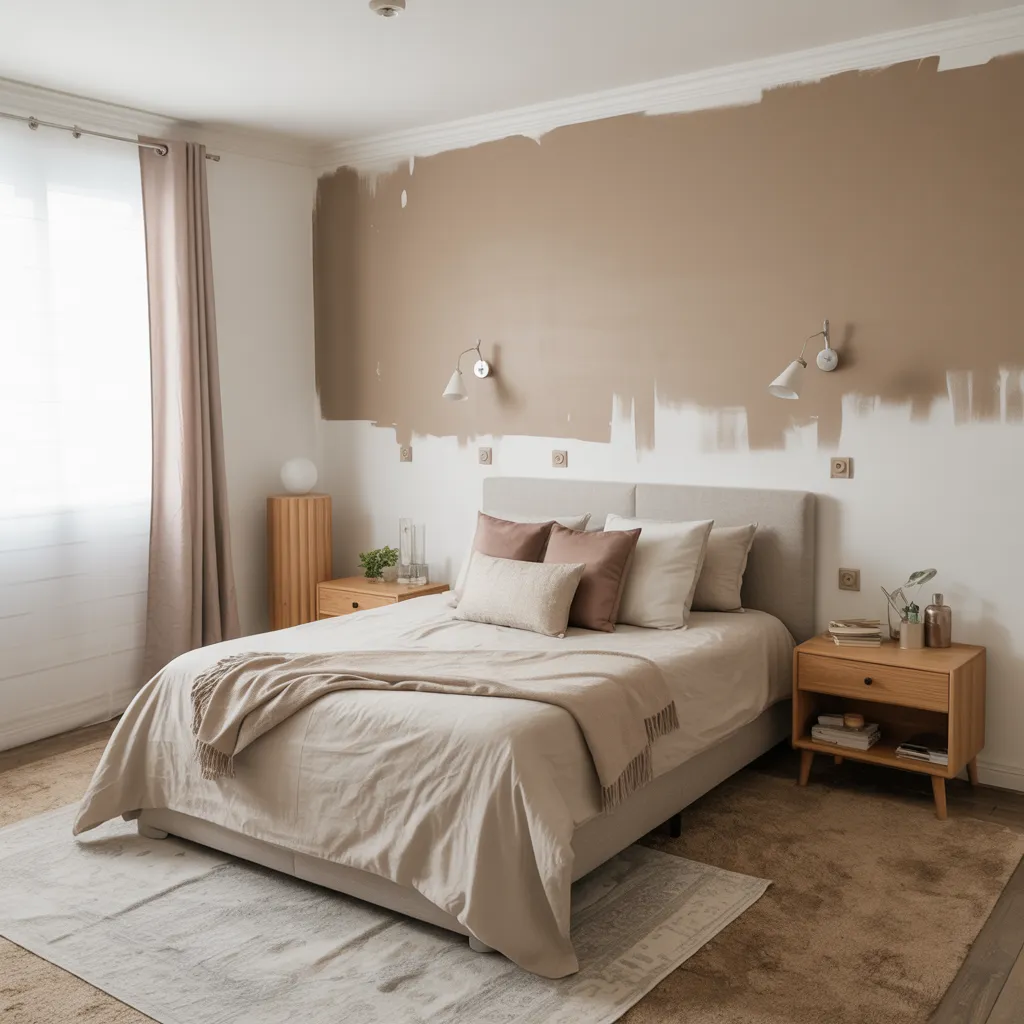
Proper prep is the secret to a professional-looking finish. Don’t skip these steps!
- Clear the Area: Move all furniture away from your chosen wall. If you can’t move it out of the room, push it to the center and cover it completely with a drop cloth.
- Protect Your Floors: Lay down drop cloths along the base of the wall. Tape them down so they don’t shift around.
- Clean the Wall: Wipe down the entire wall with a damp cloth and a mild cleaner to remove any dust, cobwebs, or grime. Let it dry completely.
- Remove Obstacles: Unscrew and remove all outlet covers and light switch plates. Put the screws in a little bag and tape it to the back of the plate so you don’t lose them!
- Patch and Sand: Fill any holes or imperfections in the wall with spackle. Once dry, sand the patches smooth so they are flush with the wall.
Step 2: Measure, Mark, and Cut (The Math Part)
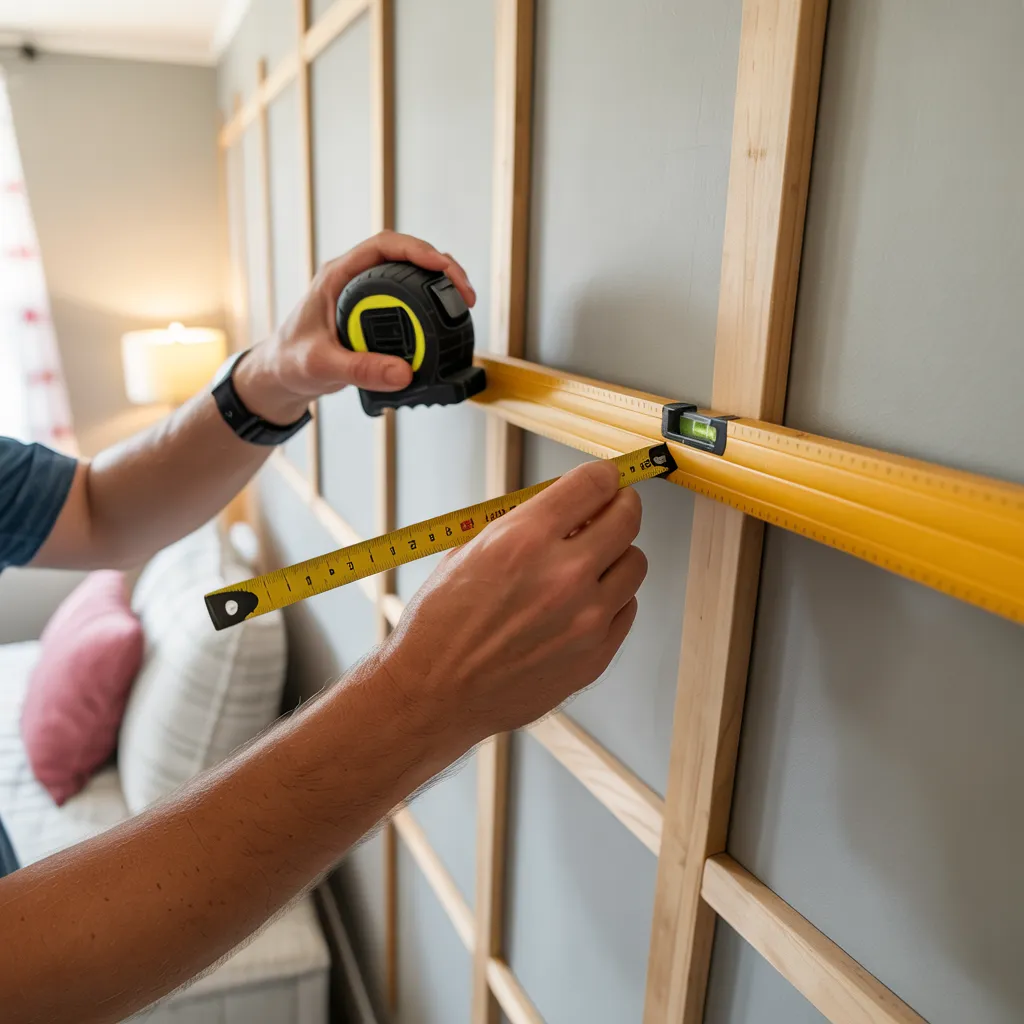
This step is where your design starts to come to life on the wall. The key here is to measure twice, cut once. Seriously. It will save you a lot of headaches.
For a Painted Design:
Use your painter’s tape to create your geometric shapes. Use your level to ensure the lines are perfectly straight. Press the tape down firmly to prevent paint from bleeding underneath.
For a Board and Batten Wall:
This requires a bit more math, but it’s totally doable.
- Install the Top and Bottom Boards: Start by installing your horizontal boards at the top (near the ceiling) and bottom (on top of your baseboard). Use construction adhesive and a brad nailer to secure them. Make sure they are level!
- Determine Your Spacing: Decide how far apart you want your vertical battens to be. A common spacing is between 16 and 24 inches.
- Do the Math: Measure the total width of your wall. Let’s say it’s 144 inches wide. If you’re using 3.5-inch wide boards and want about 7 vertical battens, you’d calculate the spacing like this:
(Total Wall Width - (Batten Width x Number of Battens)) / Number of Spaces = Space Between Battens. - Mark the Wall: Use your tape measure and pencil to mark the placement for each vertical batten. Use your level to draw a faint vertical line for each one to ensure they go on straight.
- Cut Your Battens: Measure the height needed for each vertical batten and cut them to size with your miter saw.
Step 3: The Installation
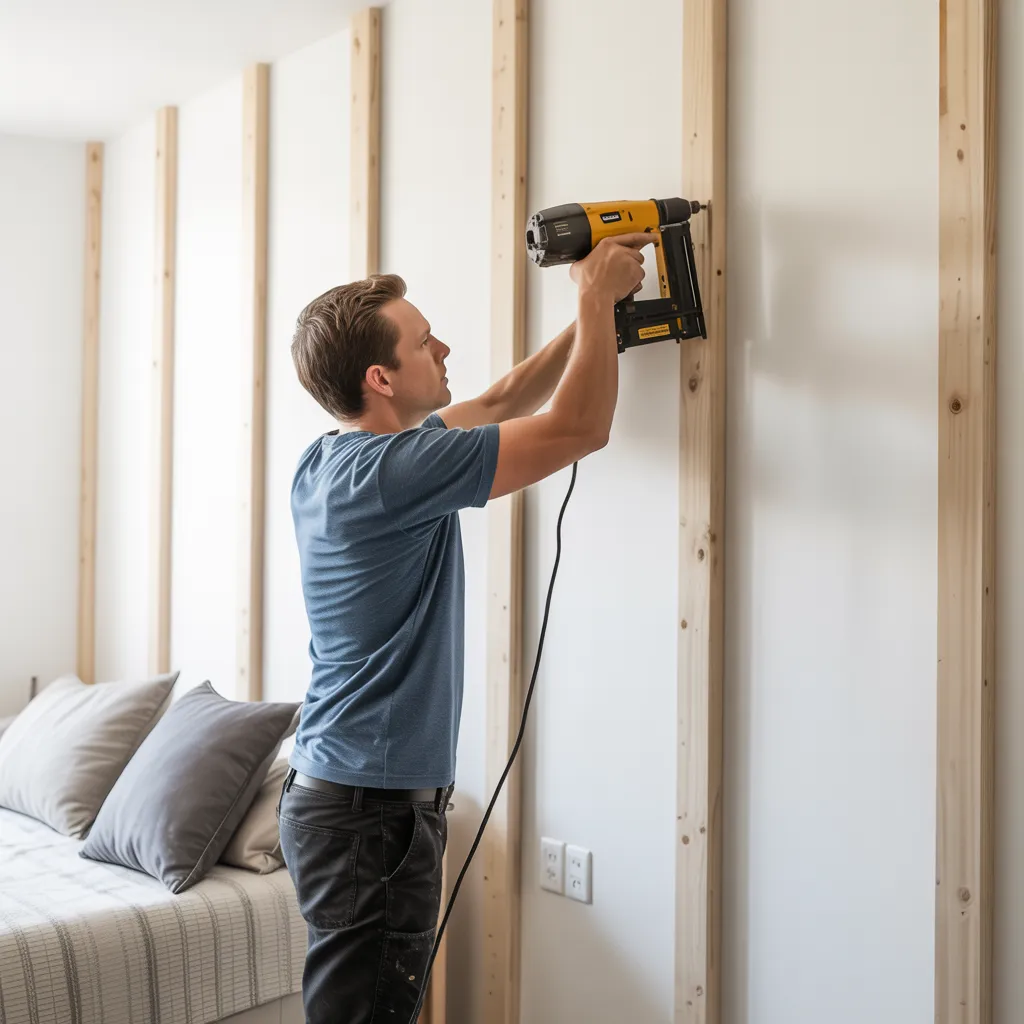
Now, you get to see your vision come together.
If You’re Painting:
- Cut In: Use your angled brush to paint along the edges of the ceiling, corners, and baseboards, as well as along any painter’s tape lines. This gives you a clean border.
- Roll It On: Use your roller to fill in the main area of the wall. Apply the paint in a “W” pattern for the most even coverage. Let the first coat dry completely before applying a second coat.
- Remove the Tape: Pull off the painter’s tape while the second coat is still slightly wet. Pull it at a 45-degree angle for the sharpest line.
If You’re Installing Wood:
- Attach the Boards: Apply a bead of construction adhesive to the back of a batten. Place it on your guideline and secure it with a few brad nails.
- Work Your Way Across: Continue installing all your vertical battens, double-checking that each one is level as you go.
Step 4: The Finishing Touches
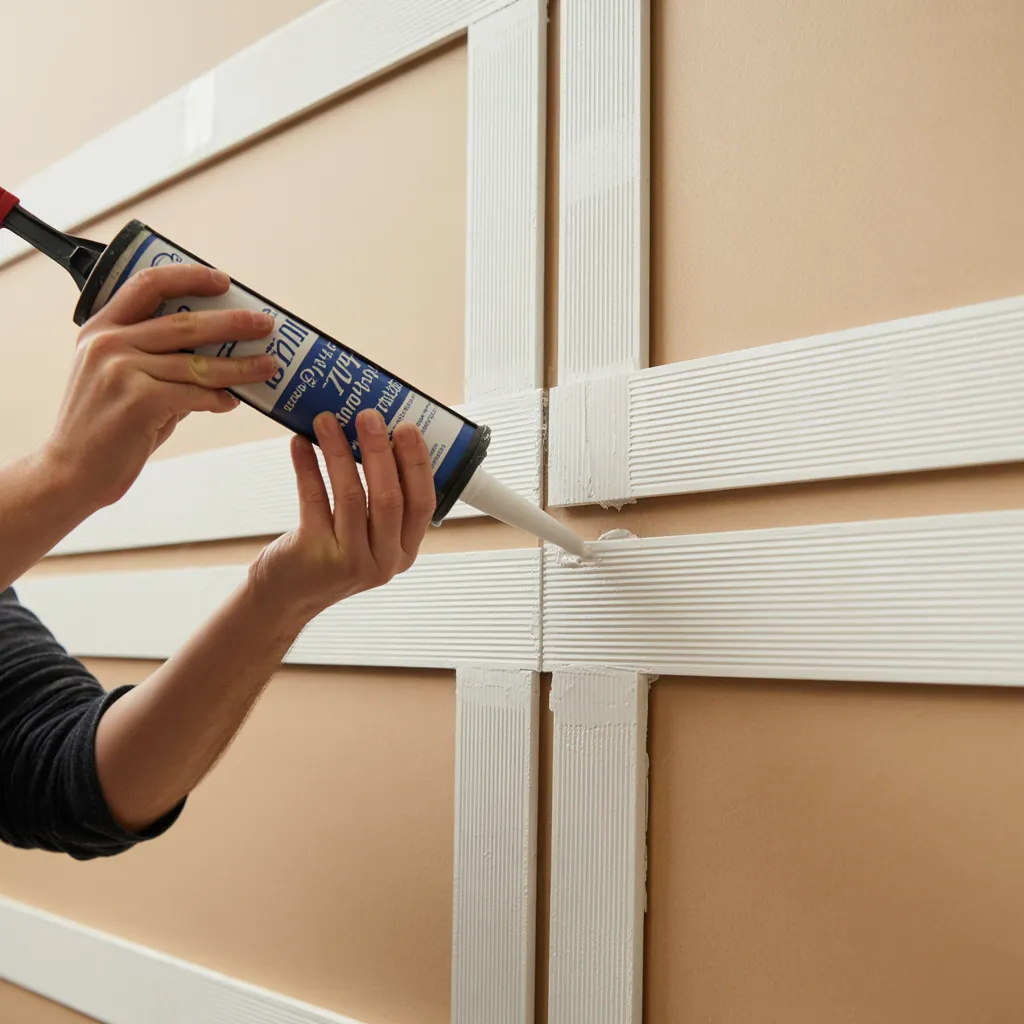
This final step is what separates a “DIY project” from a “professional-looking feature.” These little details make all the difference.
- Fill the Nail Holes: Use a small amount of wood filler or spackle to cover every single nail hole. Overfill them slightly, as the filler will shrink a bit as it dries.
- Sand Smooth: Once the filler is completely dry, sand it smooth with fine-grit sandpaper until you can’t feel the patch.
- Caulk ALL the Seams: This is the real secret weapon. Apply a thin, continuous bead of paintable caulk along every seam where wood meets the wall and where two pieces of wood meet. Use a wet finger or a caulk tool to smooth the bead immediately. This hides any gaps and creates a seamless, built-in look.
- Prime and Paint: Once the caulk is dry (check the tube for dry times), it’s time to paint. Prime all the wood and filled spots first. Then, apply two coats of your final paint color to the entire wall, including the new trim.
Stepping Back and Admiring Your Work
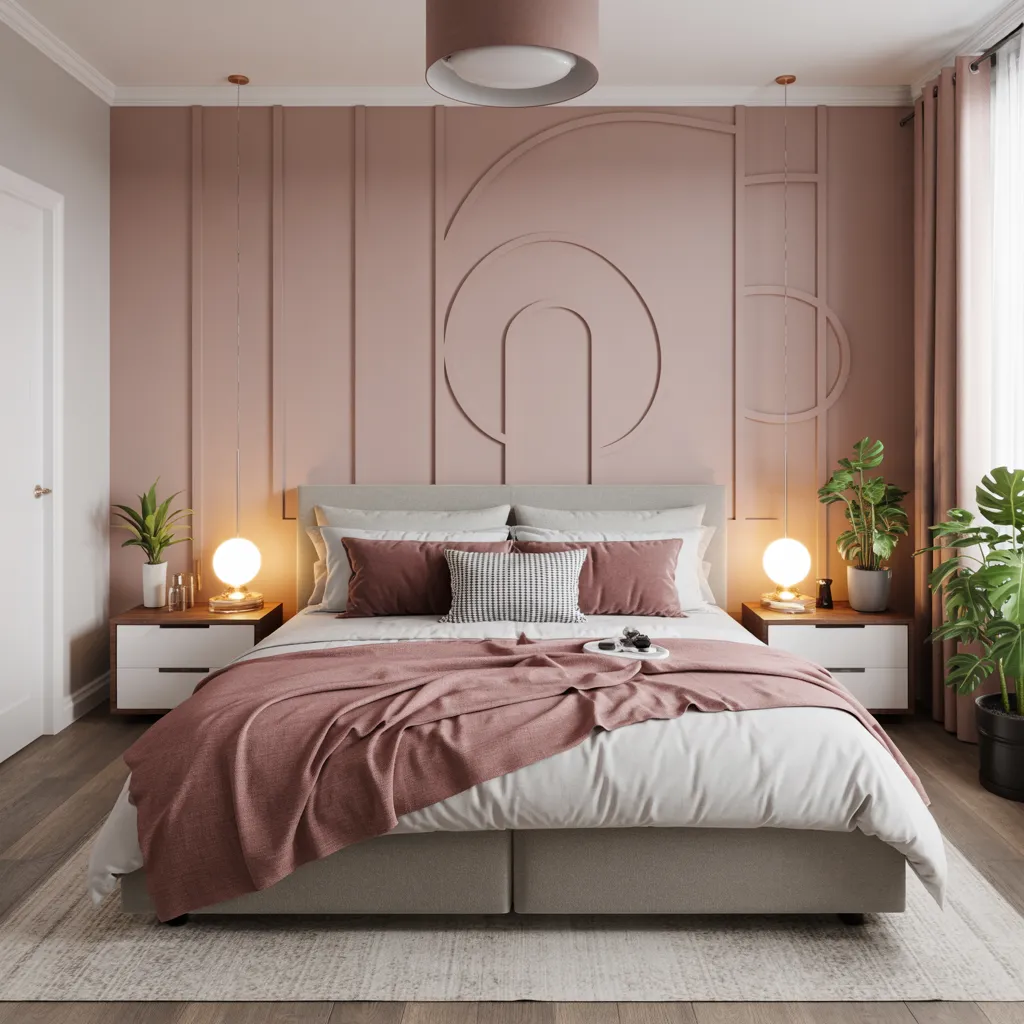
And just like that, you’re done! Take a moment to step back and appreciate what you’ve just accomplished. You took a blank wall and turned it into a piece of art that reflects your personal style. It’s an incredibly satisfying feeling, isn’t it?
Let the paint fully cure for a few days before you move furniture back against the wall. Then, put your room back together, make your bed with your favorite linens, and maybe even treat yourself to a new plant or piece of art to complete the look.
Learning how to create a DIY bedroom accent wall step by step is more than just a home improvement project. It’s about building confidence in your own abilities and creating a space that you truly love to be in. So go ahead, pick that wall, choose that color, and make it happen. You’ve totally got this.
