How to Install a DIY Bathroom Backsplash Step by Step
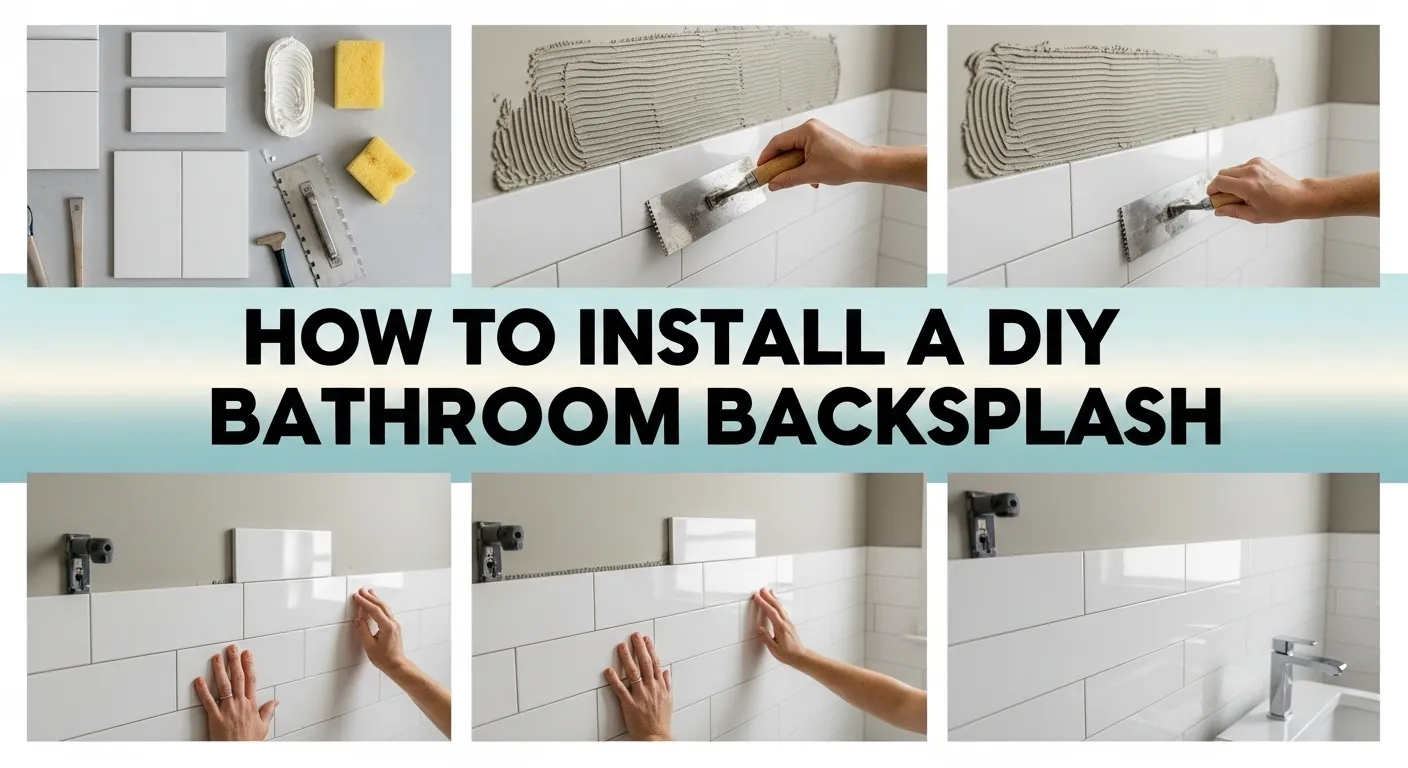
Tired of staring at that sad, blank wall behind your bathroom sink? You know the one. It’s boring, a little splash-stained, and screaming for a makeover. You’ve probably pinned a million beautiful bathroom ideas, thinking, “I wish I could do that.” Well, I’m here to tell you that you absolutely can. Installing a bathroom backsplash is one of those DIY projects that looks incredibly fancy but is surprisingly straightforward.
I’ve done a few of these myself, and let me tell you, the first time I was terrified. I imagined crooked tiles, grout everywhere, and a result that looked worse than when I started. But I survived, and my bathroom looks a thousand times better for it. You can do this, and I’m going to walk you through it, step by step. We’re going to turn that bland wall into a feature you’ll want to show off.
Step 1: Gather Your Tools and Materials (The Fun Part)
Before we get our hands dirty, we need to go shopping. I know, what a chore, right? A trip to the hardware store is basically a DIYer’s playground. Creating a good shopping list is the key to preventing those annoying mid-project trips where you’re covered in thin-set and have to explain your appearance to the cashier.
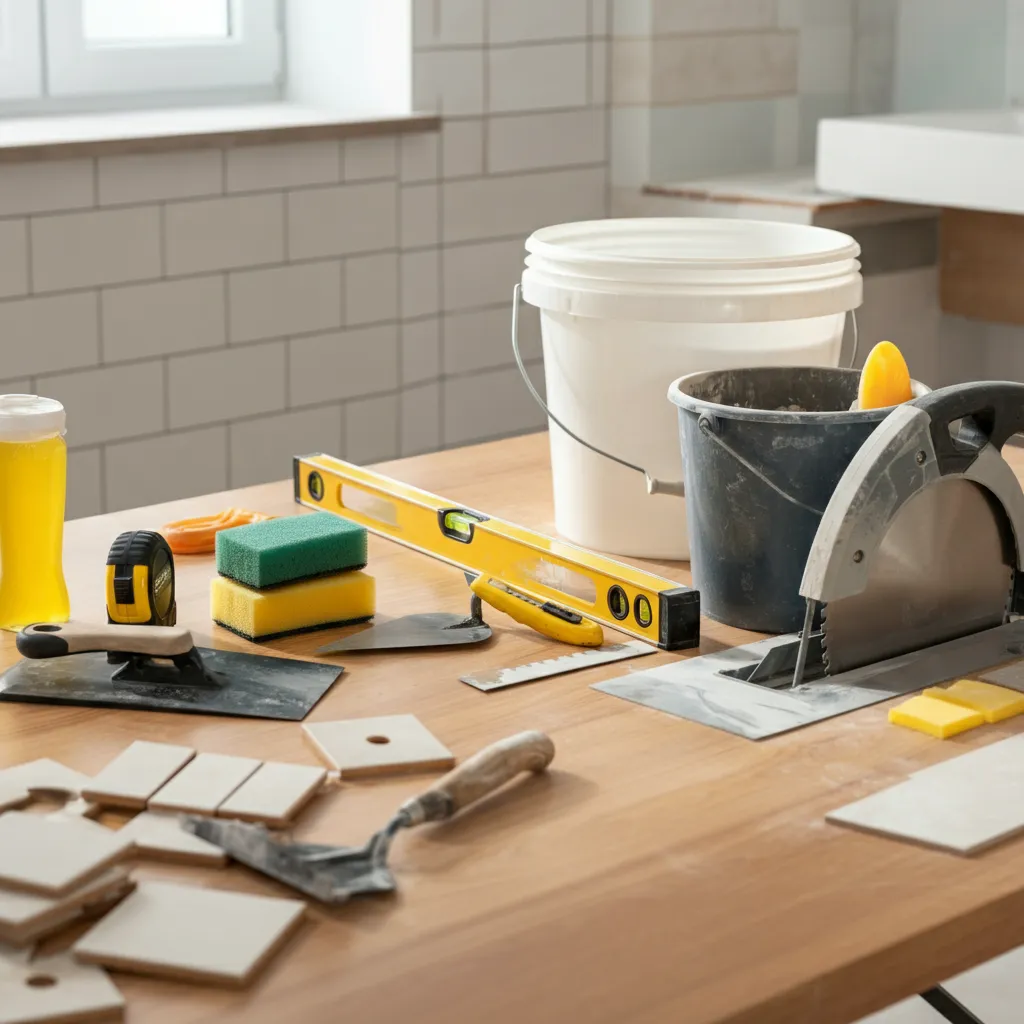
Essential Tools
Here’s a no-fluff list of what you’ll need to grab. Don’t worry, you probably have some of this stuff already.
- Tape Measure: For, you know, measuring things. This is non-negotiable.
- Level: Because a crooked backsplash is a sad backsplash. A 2-foot level is usually perfect for this job.
- Utility Knife: Great for cutting tile mats and scoring drywall.
- Notched Trowel: This is what you’ll use to spread the adhesive. The size of the notches depends on your tile size, so check the adhesive instructions.
- Grout Float: A rubbery float that helps you push grout into the tile joints.
- Sponges and Buckets: You’ll need at least two buckets—one for mixing, one for clean water—and a couple of large sponges.
- Tile Spacers: These little plastic guys are your best friends for consistent grout lines.
- Tile Saw or Tile Cutter: This sounds scarier than it is. For simple straight cuts on ceramic or porcelain, a manual snap cutter is fine. For intricate cuts or harder materials like glass, a wet saw is the way to go. You can often rent one for a day.
Must-Have Materials
Now for the pretty stuff and the sticky stuff.
- Tiles: The star of the show! Whether you choose ceramic, porcelain, glass, or natural stone, make sure you buy about 10% more than you need. This covers any mis-cuts, accidental breaks, or future repairs. Trust me on this.
- Tile Adhesive (Thinset or Mastic): Mastic is pre-mixed and easier for beginners, but thin-set mortar is stronger and more water-resistant. For a bathroom, I personally lean toward thin-set because of the moisture.
- Grout: It comes in a million colors. Choose one that complements your tile. Sanded grout is for wider joints (1/8″ or more), while unsanded is for thinner lines.
- Grout Sealer: An absolute must in a bathroom. This protects your grout from moisture, stains, and mildew.
- Caulk: You’ll need a flexible, waterproof caulk that matches your grout color to seal the seam between the backsplash and the countertop.
Step 2: Prepare Your Wall for Tiling
You wouldn’t paint on a dirty canvas, would you? The same principle applies here. A clean and prepped surface is the foundation of a professional-looking job. Skipping this step is asking for trouble down the line.
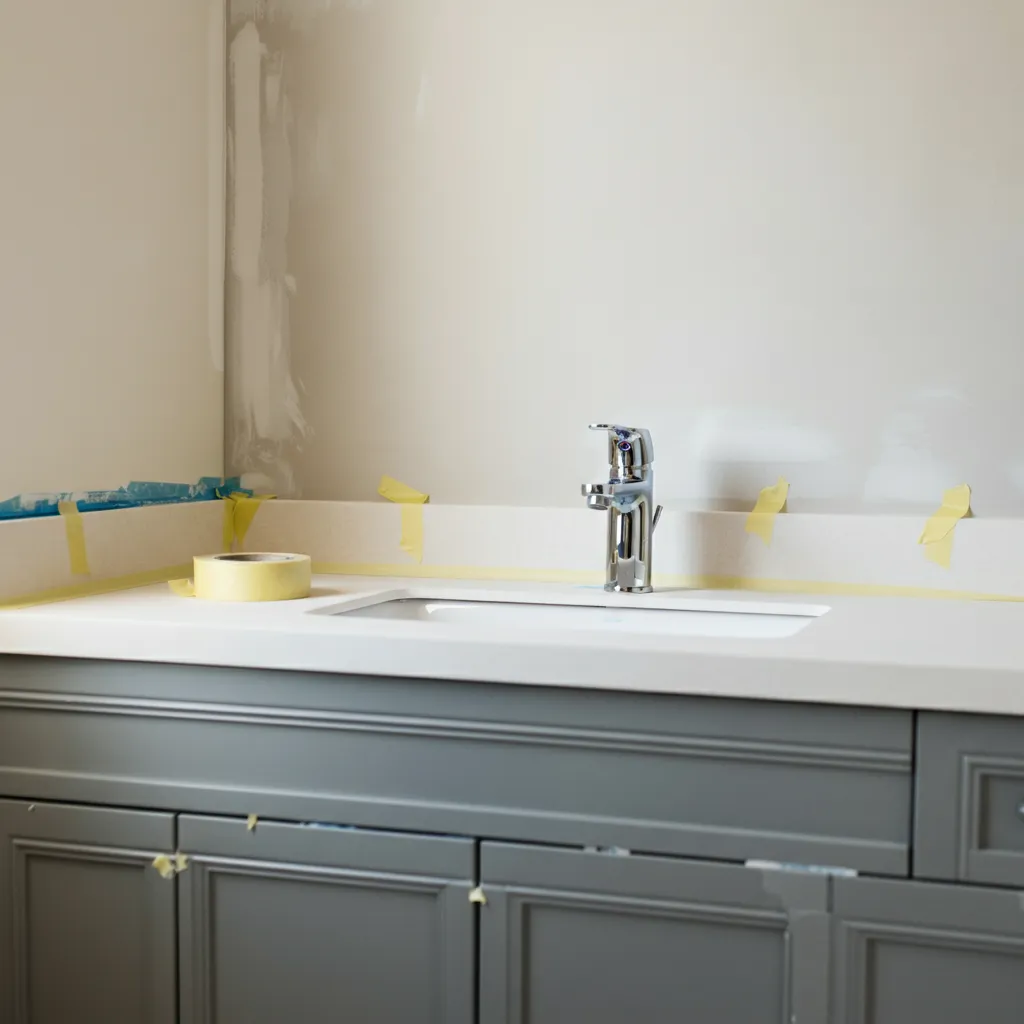
First, turn off the water supply to the sink and disconnect the faucet if it’s going to be in your way. It’s much easier to tile without a giant fixture blocking your path. If you can work around it, great. If not, take the ten extra minutes to remove it.
Next, give the wall a thorough cleaning. Use a good degreasing cleaner to remove any soap scum, grime, or toothpaste splatters. Once it’s clean, let it dry completely.
Now, check if the wall is flat. Use your level as a straightedge to see if there are any major humps or dips. If you have significant imperfections, you might need to skim coat the area with joint compound to even it out. For minor texture, a good layer of adhesive will usually suffice. If you’re working with drywall, a quick coat of primer can help the adhesive bond better.
Finally, use painter’s tape to protect your countertop and any surrounding walls. This little bit of prep saves a massive amount of cleanup later.
Step 3: Plan Your Tile Layout
This is where you get to be an artist. Before you mix a single drop of adhesive, you need a game plan. The goal is to avoid ending up with tiny, awkward slivers of tile at the ends of your backsplash.
Lay your tiles out on the counter in the pattern you want. This is your chance to see how everything fits. Find the center of your wall and mark it with a pencil. Your first tile should either be centered on this mark or have a grout line centered on it. This ensures that the tiles at both ends of the backsplash will be roughly the same size, creating a balanced, symmetrical look.
This is your most important visual step. Do you want a classic subway pattern? A herringbone? A simple grid? Play around with it. Use your tile spacers to see the true layout with grout lines included. Measure and see what kind of cuts you’ll need to make. It’s much better to figure this out now than when you have sticky adhesive drying on the wall.
Step 4: Apply the Adhesive and Set the Tiles
Alright, game time. Put on some music, take a deep breath, and let’s stick some tiles to a wall. It’s going to be great.
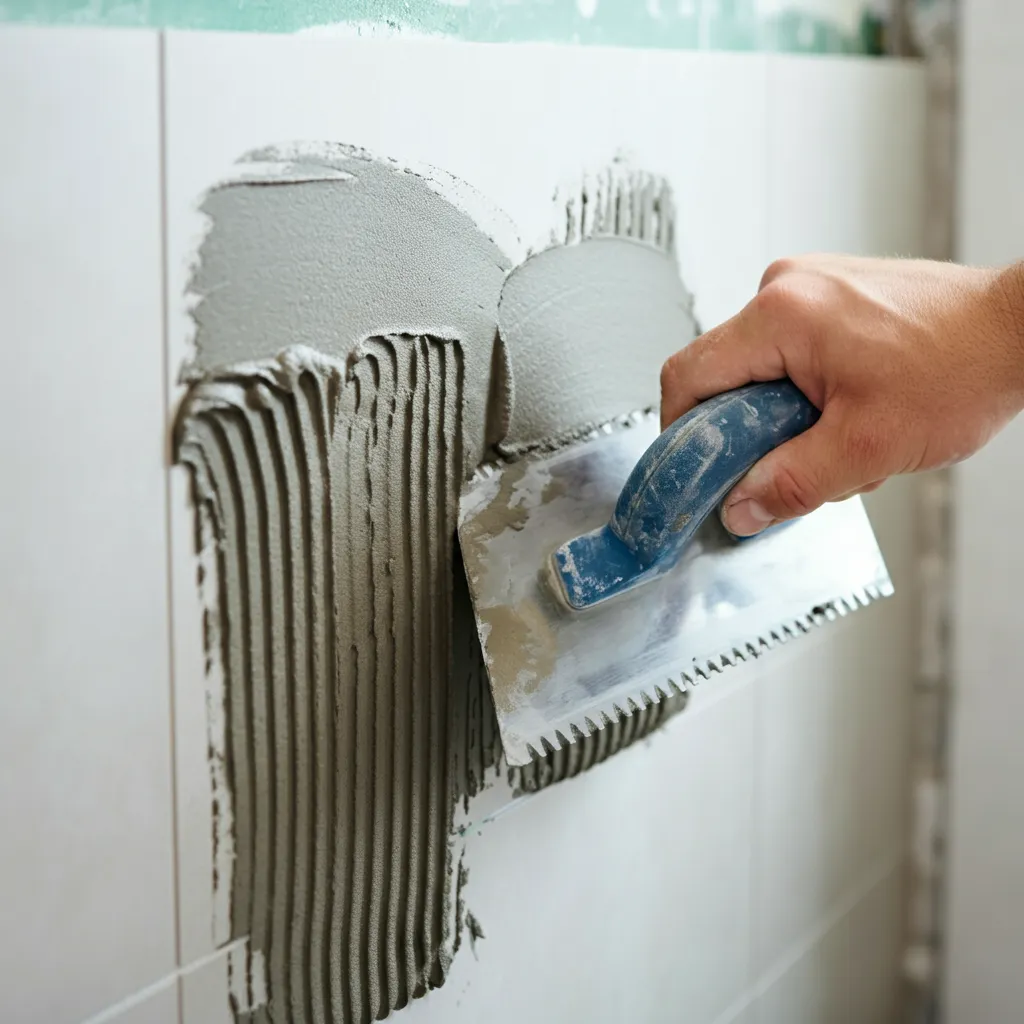
Mix your adhesive according to the package directions. You’re looking for a consistency similar to peanut butter—thick enough to hold its shape on the trowel without sliding off. Only mix as much as you can use in about 20-30 minutes, as it starts to dry quickly.
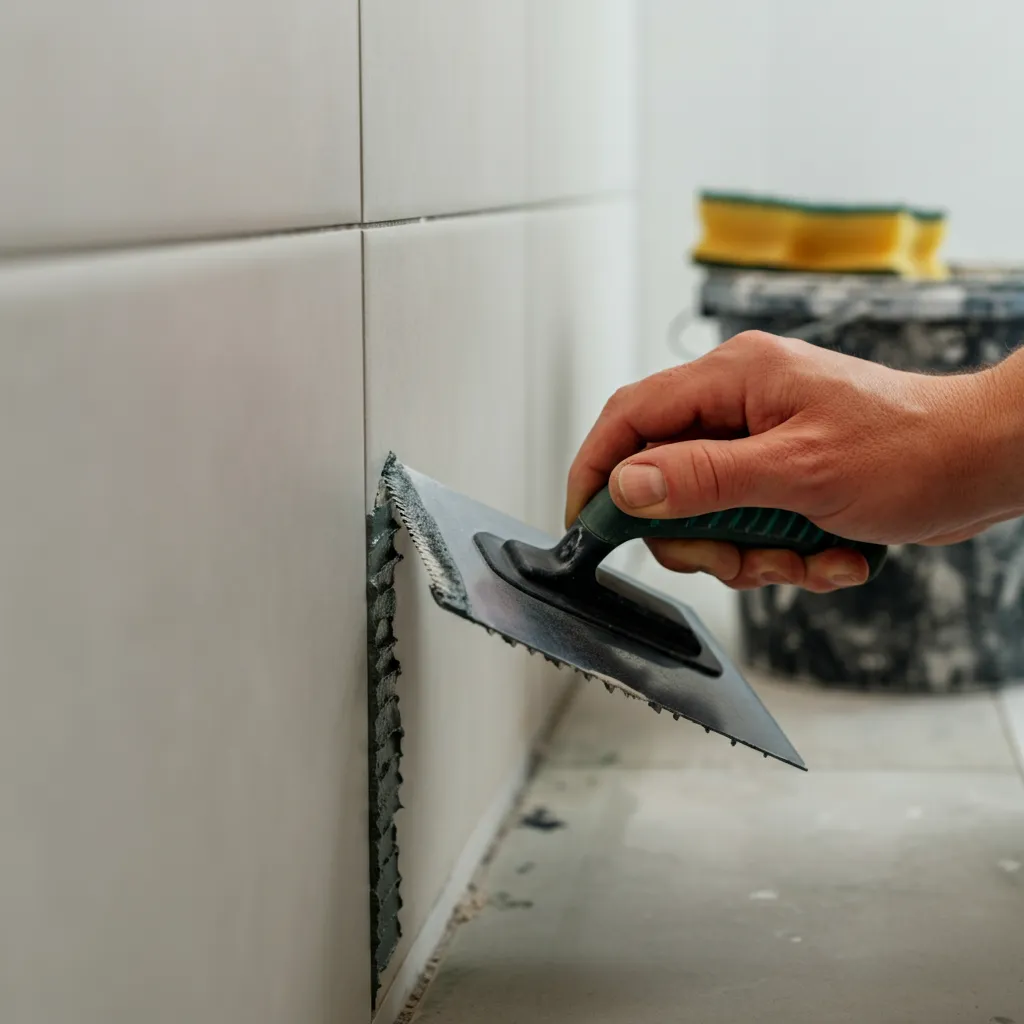
Using the flat side of your trowel, spread a thin layer of adhesive onto a small section of the wall (maybe 2-3 square feet at a time). Then, come back with the notched side of the trowel, holding it at a 45-degree angle, and comb the adhesive to create uniform ridges.
Now, gently press your first tile into place, starting from your centerline at the bottom. Give it a little wiggle to set it firmly into the adhesive. Don’t push so hard that adhesive oozes out the sides. Place your next tile beside it, using tile spacers to create your desired grout line. Check for level and plumb every few tiles. It’s easy to fix a slightly off tile now; it’s impossible to fix it later.
Continue setting tiles, working in small sections, until the entire area is covered. When you get to the edges or around outlets, you’ll need to make your cuts. Measure carefully, mark your tile, and use your tile saw or cutter. Remember the rule: measure twice, cut once.
Step 5: Let It Dry, Then Grout Like a Pro
Patience is a virtue, especially in DIY. You need to let the adhesive cure completely. The instructions will tell you how long, but it’s typically at least 24 hours. Don’t rush this! If you try to grout too soon, you’ll end up with shifting tiles and a giant mess.
Once it’s fully cured, remove all the tile spacers. Now, it’s time to grout. Mix your grout until it’s the consistency of smooth cake frosting.
Apply the grout using your grout float. Smear it over the tiles, holding the float at a 45-degree angle and pushing the grout diagonally into the joints. Make sure every joint is filled completely. It’s going to look incredibly messy, and that’s okay. You’re basically frosting a wall.
After you’ve covered a section, wait about 15-20 minutes for the grout to set up slightly. Then, take a damp (not soaking wet!) sponge and gently wipe the excess grout off the tile surfaces. Rinse your sponge frequently in your clean water bucket. The goal here is to clean the tiles, not pull the grout out of the joints. You’ll probably need to do a few passes.
Step 6: The Finishing Touches (Sealing and Caulking)
You’re almost there! After the grout has fully cured—this can take up to 72 hours, so again, check the package directions—you need to seal it.
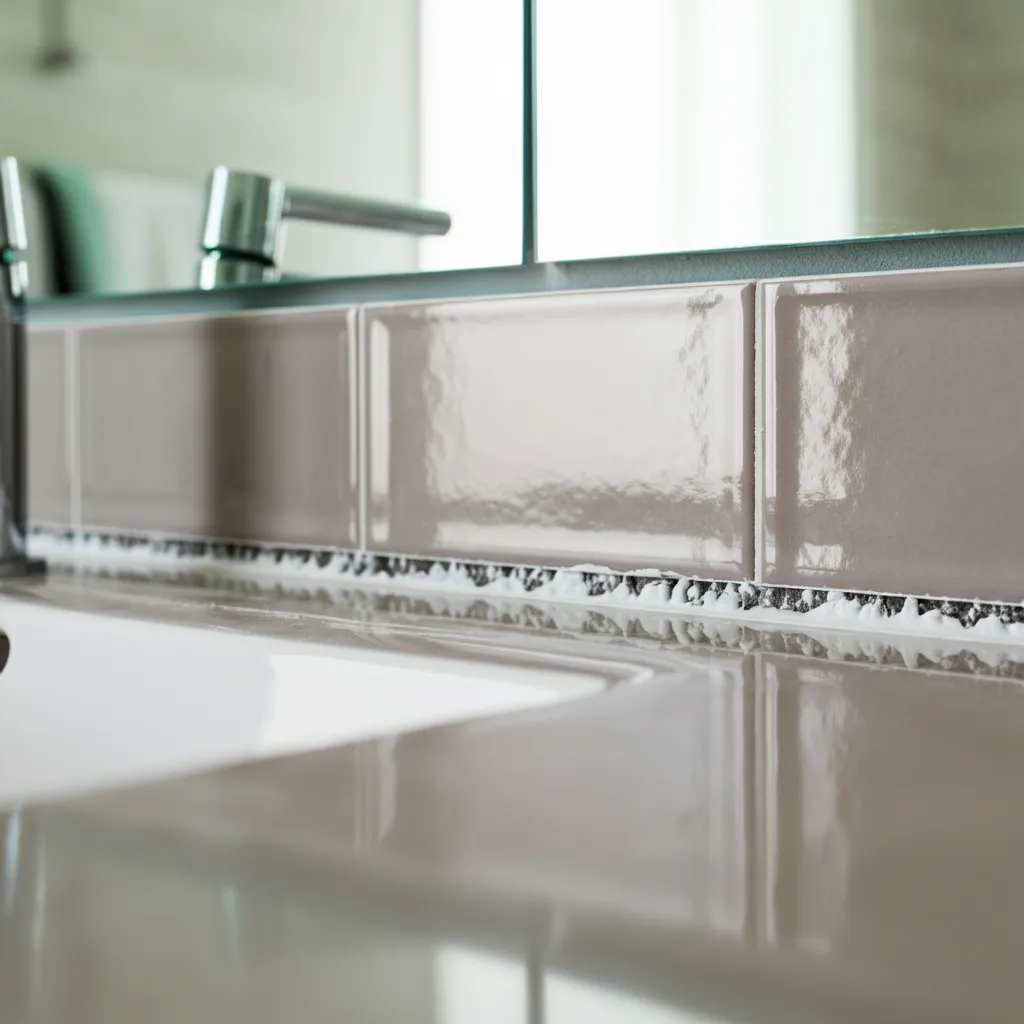
Grout is porous, and in a bathroom, unsealed grout is a magnet for moisture, mold, and stains. Applying a grout sealer is super easy. Most come with a small brush applicator. You just paint it onto the grout lines and wipe away any excess from the tile face. It’s a bit tedious, but it’s crucial for longevity.
The final, final step is to caulk. Run a bead of waterproof kitchen and bath caulk along the bottom edge where the backsplash meets the countertop. This flexible seal prevents water from seeping into the gap. Smooth the bead with a wet finger or a caulk-smoothing tool for a clean, professional finish.
You Did It!
Step back and admire your work. That boring wall is now a beautiful, custom feature that you created with your own two hands. You’ve added value to your home and learned a new skill. Go ahead, splash some water around. Your wall can handle it now. Reinstall your faucet, clean up your tools, and give yourself a well-deserved pat on the back. You’ve earned it
